The Hobby Of Chocolate Making
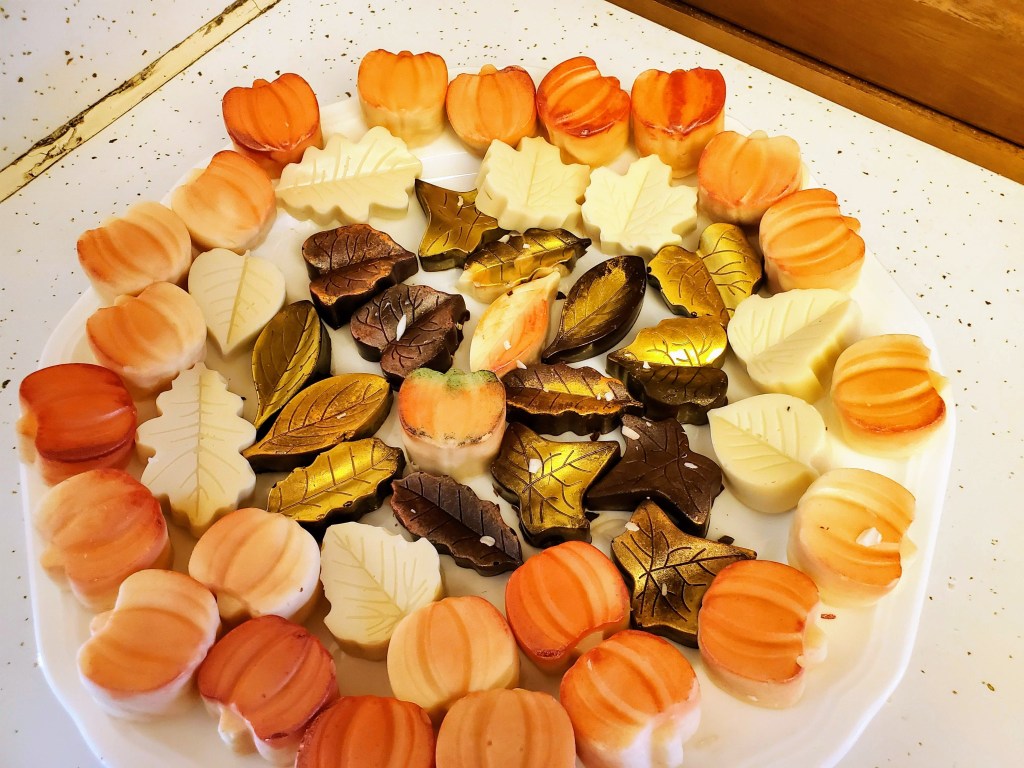

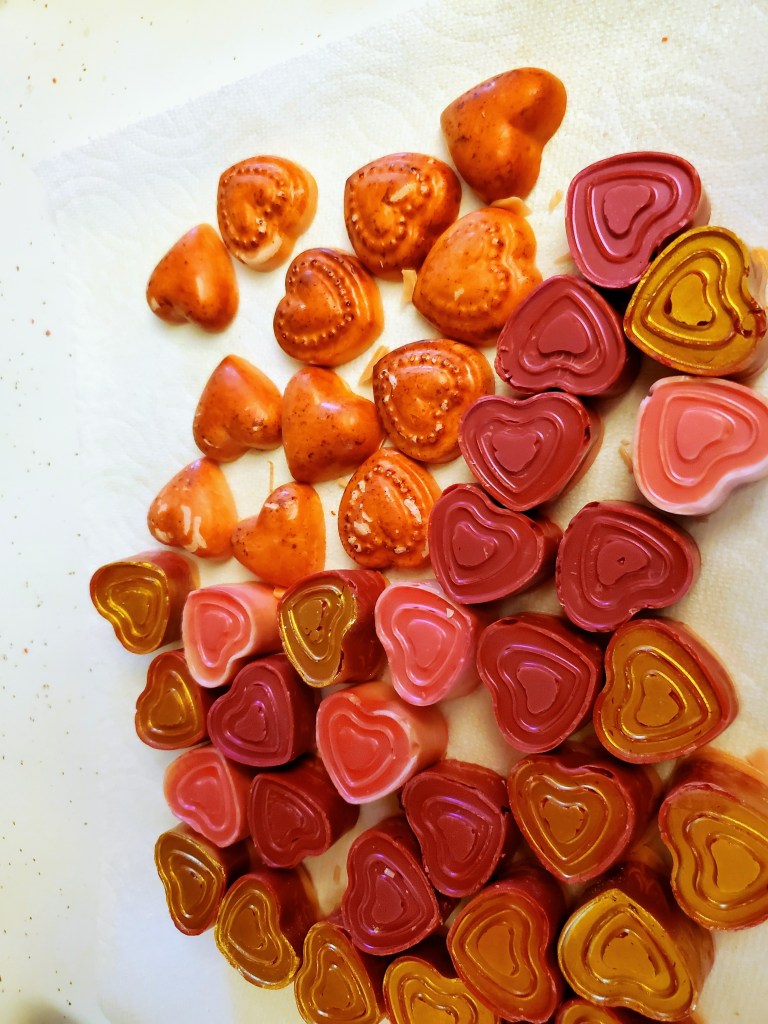
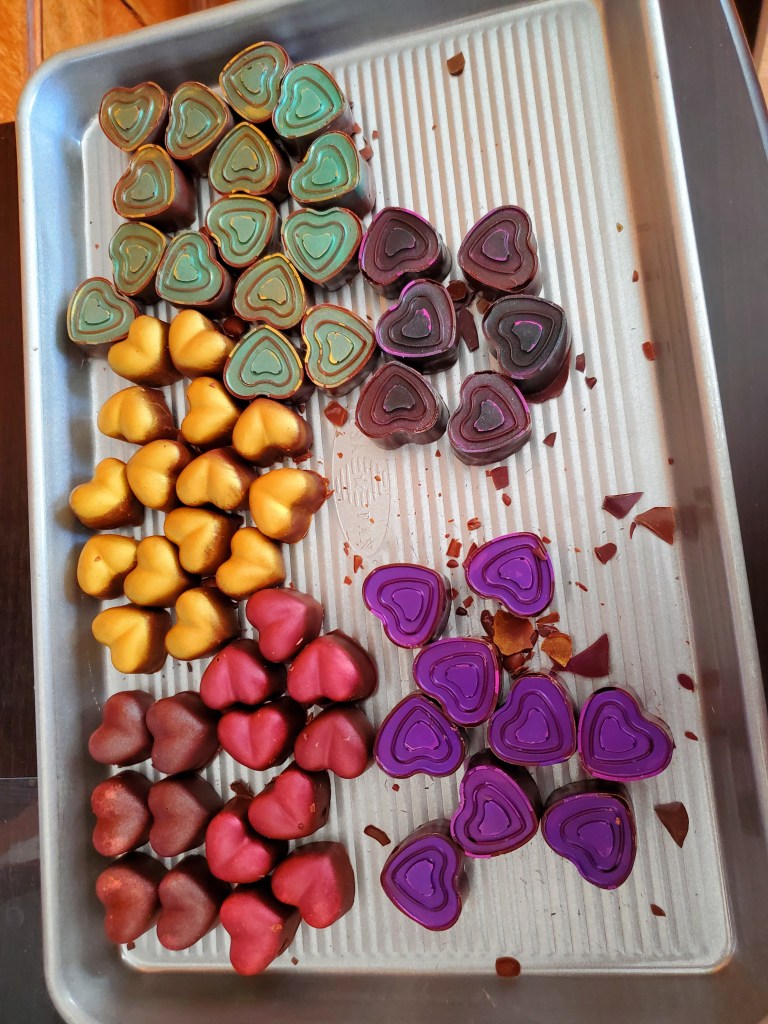
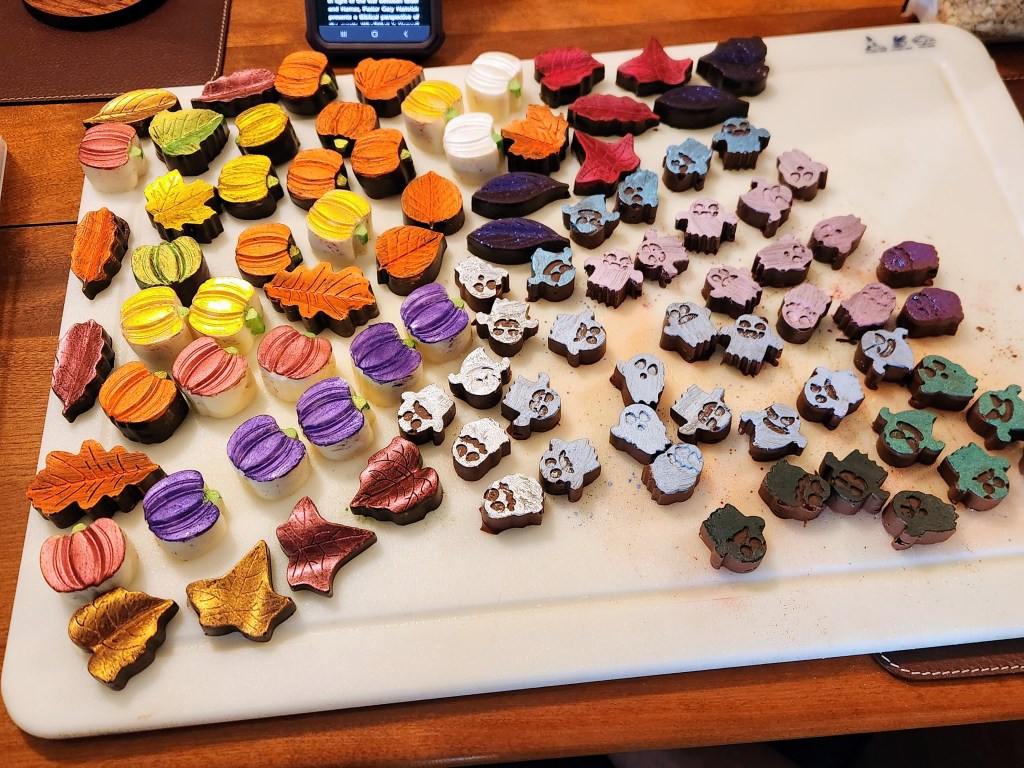
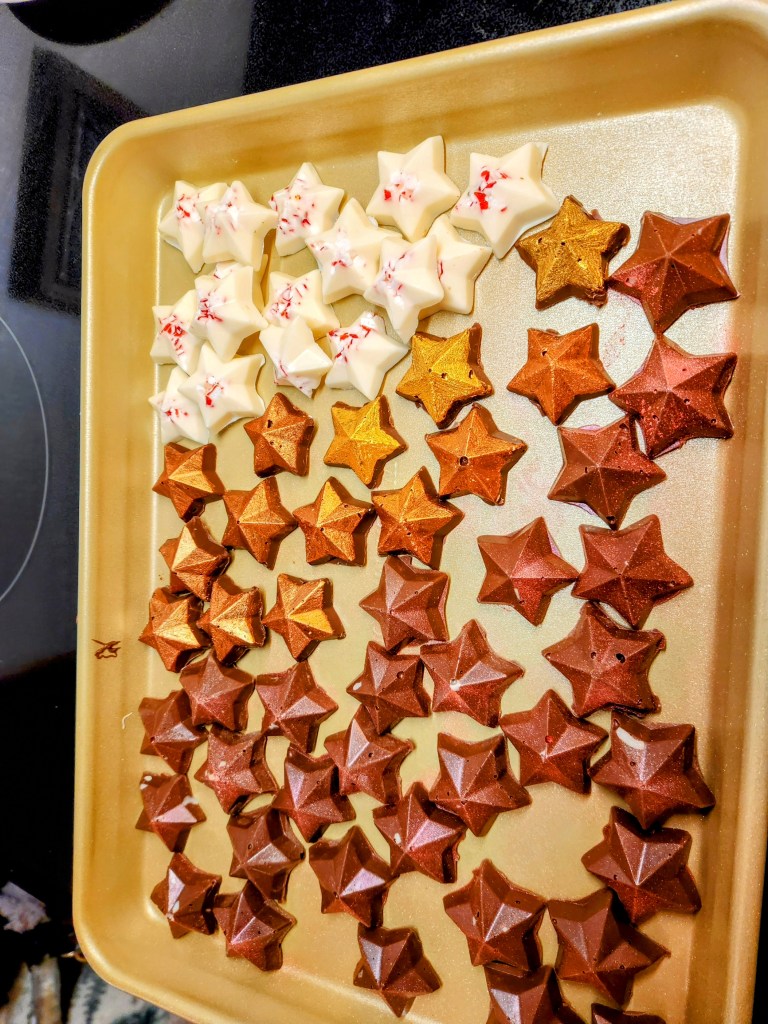
About the time Covid lockdown started, I like almost everyone else took up a culinary hobby. It started with the idea of wanting to color chocolate and create them in festive shapes. I wanted something that looked good and tasted good that I could give friends and family. Pictured above are a few examples of the results I had during random points of trying.
So, how did I do this? For people wanting to try for themselves, I’ll describe the steps.
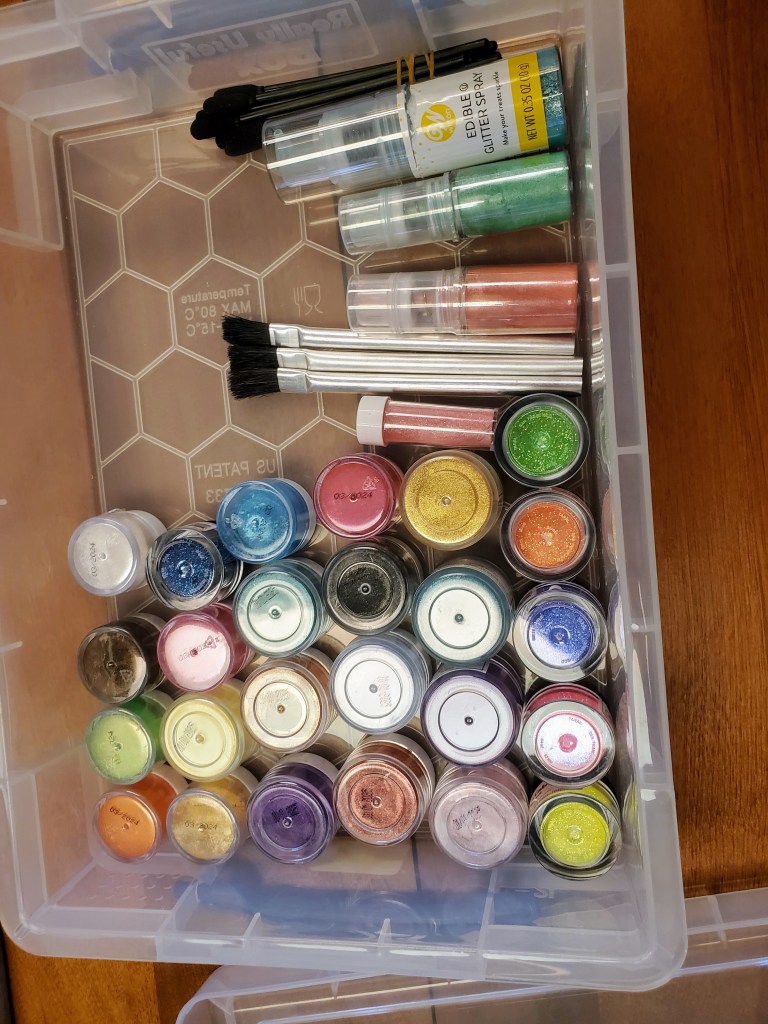
Materials: edible luster dust, paint brushes. glass Pyrex measuring cup, spatula, vodka, silicone chocolate molds of choice, Ghirardelli melting chocolate in any type, and candy flavoring drops or mix ins.
I take the chocolate and put the melting chips in a microwave safe Pyrex glass measuring cup (two cup type). Heat on high power for 1 minute followed by 30 second intervals as needed. Stir in between for even melting. It should be in a liquid state that is thick but thin enough to flow when poured into the mold. Pour it in and use the spatula if needed for guidance and excess removal off of the bottom. It will set fast so you have to be quick! When done pouring, slam the mold against the counter hard a few times. This knocks air bubbles loose and will give a more intact looking chocolate.
If you are adding candy flavoring or solid bits like crushed candy cane, graham cracker, nuts, or you psychos that like pretzel pieces in chocolate, you will want to add it to the melted chocolate mix right before pouring. Remember to mix evenly. Also never use oils or oil extracts to chocolate! Even if it is something that sounds good like peppermint oil. Oil is chemically incompatible with chocolate. It will cause it to seize, clump, and have a horrible grainy texture in the mouth. It’s impossible to pour in this state as well. I tried eating my mistake and almost threw up.
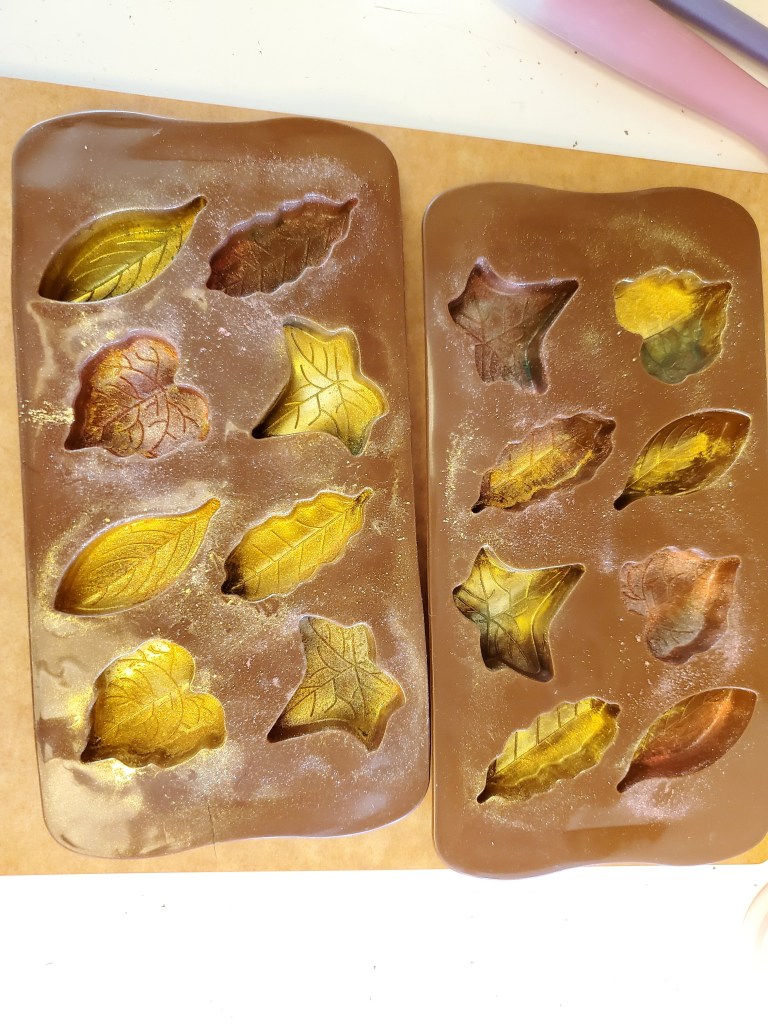
For coloring there are two methods that I have tried. The one that I primarily use, I apply after removing the chocolate from the molds. I dip a paintbrush in vodka and then in edible luster dust. This turns the luster dust into a paint on the brush, and because of the high alcohol content in vodka, evaporates off the alcohol very quickly after. There is no alcohol flavor or effects although if you store them in an air tight container to dry, you might smell it slightly. I like this technique the most because it allows a very even coating. It also allows for accurate results. The other method I use, uses zero alcohol and requires applying the dust directly to the molds before pouring. It can turn out brilliantly but only if you get a result without air bubbles. The color will not stick where there is no direct chocolate contact and bubbles will appear more visible. It also requires even more careful cleaning of the molds to remove excess color. Regardless, this method causes permanent mold stains though thankfully not on the chocolate. Remember to not cross contaminate luster dust in their containers and a little goes a very long way. I knock extra off the brush back into the container. This might take practice to get right. Many colors are available online and even in glitter and glow in the dark types. Very fun way to spice up a party!
After you pour or paint let it rest in the fridge until firm. Painting can make the chocolate too soft if they are handled too much. Other than all that, that’s all it takes to make treats for yourself or others! If you are planning to try good luck, and above all, have fun!
